The process of replacing the default SSL certificates on ESXi 6.x/6.5 is a simple process involving around 5-10 steps. We would need a seperate linux host to generate the openssl self-signed certificate (NOTE: we are not using any CA). Host needs to be in Host Maintenance mode during the process. Please plan downtime.
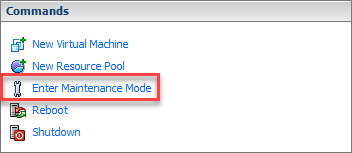
Firstly to start off put the ESXi host into maintenance mode.

Then login to a linux host ( I used CentOS) and run this command using OpenSSL to generate the self-signed certificate which would be later transferred onto esxi box using scp.
# openssl req -x509 -nodes -sha256 -days 1095 -newkey rsa:2048 -keyout esxi.off.local.key -out esxi.off.local.crt
Output:
[@idm cust_certs]# openssl req -x509 -nodes -sha256 -days 1095 -newkey rsa:2048 -keyout esxi.off.local.key -out esxi.off.local.crt
Generating a 2048 bit RSA private key
………………………………………………………………+++
…………..+++
writing new private key to ‘esxi.off.local.key’
—–
You are about to be asked to enter information that will be incorporated
into your certificate request.
What you are about to enter is what is called a Distinguished Name or a DN.
There are quite a few fields but you can leave some blank
For some fields there will be a default value,
If you enter ‘.’, the field will be left blank.
—–
Country Name (2 letter code) [XX]:GB
State or Province Name (full name) []:BERKS
Locality Name (eg, city) [Default City]:READING
Organization Name (eg, company) [Default Company Ltd]:Personal
Organizational Unit Name (eg, section) []:DEV
Common Name (eg, your name or your server’s hostname) []:esxi.off.local
Email Address []:admin@dev.local
Now list the files created and you should have .crt and .key files.
[@idm cust_certs]# ls -l
total 8
-rw-r–r–. 1 root root 1415 Dec 16 08:52 esxi.off.local.crt
-rw-r–r–. 1 root root 1708 Dec 16 08:52 esxi.off.local.key
Now you need to copy/trasnfer these files over to the ESXi host using SCP.
NOTE: Would need SSH to be enabled on ESXi host.
From linux host run this command to copy over certs.
# scp esxi.off.local.* root@192.168.132.17:/etc/vmware/ssl/
** Replace IP with your esxi IP address**
Now login to ESXi host via SSH and run through these steps for applying the certs.
Make a backup of existing certs.
# mv /etc/vmware/ssl/rui.crt /etc/vmware/ssl/rui.crt.bkp # mv /etc/vmware/ssl/rui.key /etc/vmware/ssl/rui.key.bkp
Rename new certs copied from linux host.
# mv /etc/vmware/ssl/esxi.off.local.crt rui.crt # mv /etc/vmware/ssl/esxi.off.local.key rui.key
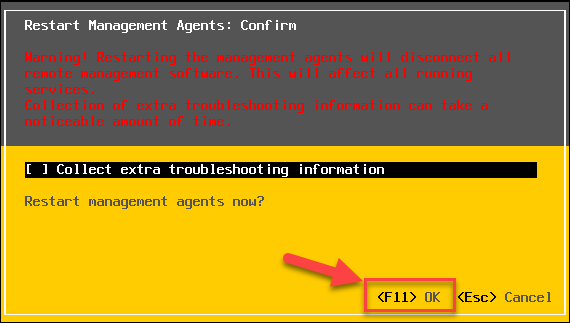
Now restart the Management Agents on the esxi host for the changes to take effect.
Browse to the console mode (DCUI mode) of ESXi host.
1) Press F2 to customize
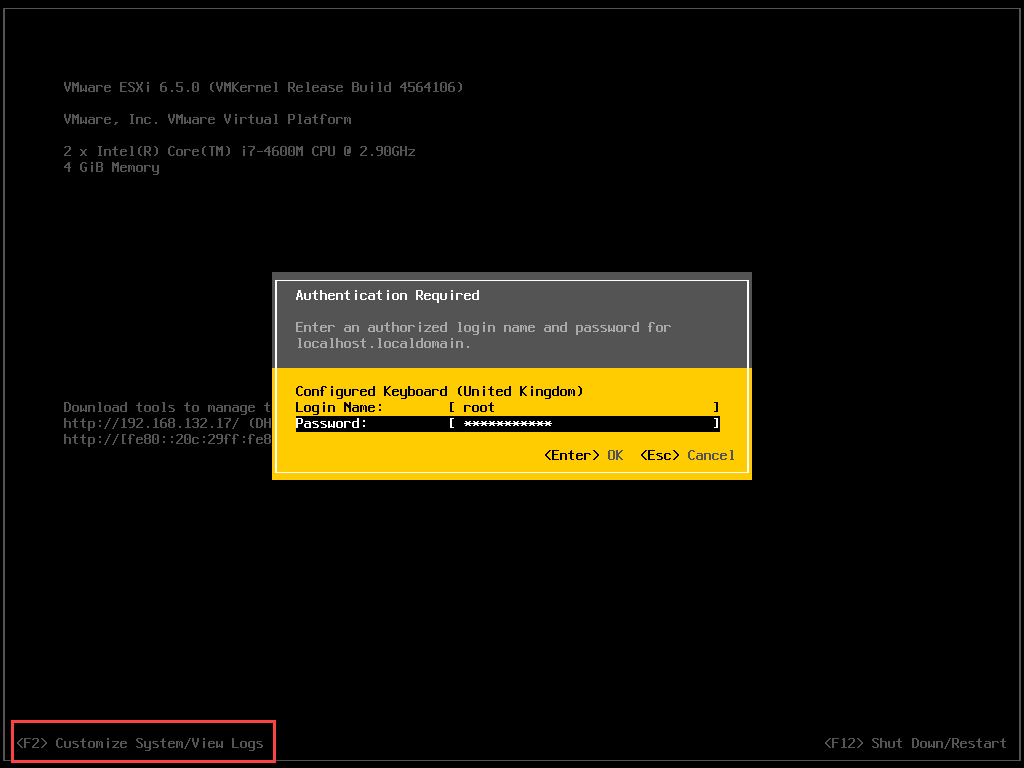
2) Goto Troubleshooting Options

3) Restart Management Agents. Press F11 to accept the changes.

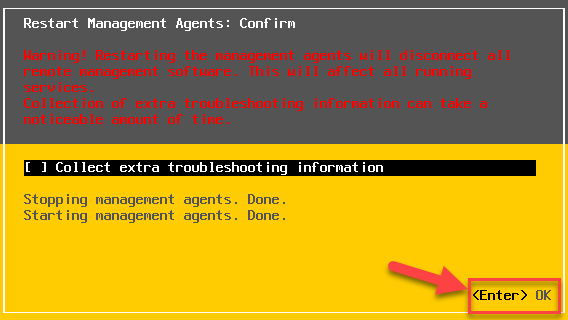
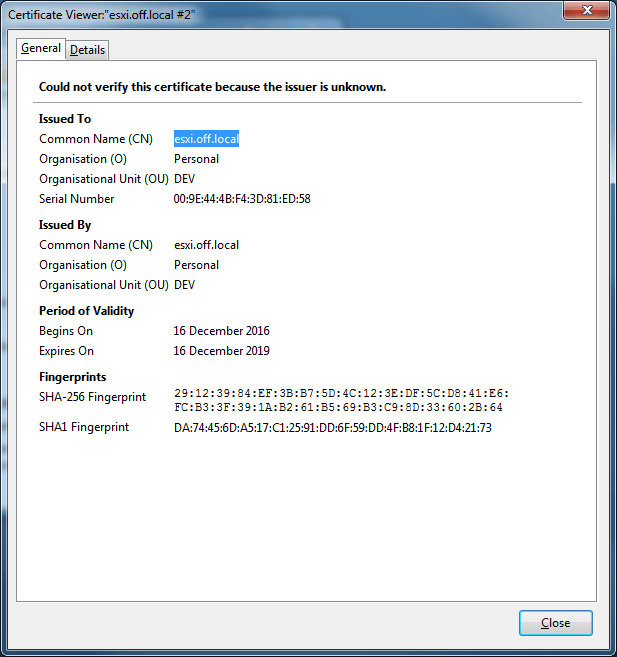
Once this is completed you can now check the new cert by browsing to the esxi URL in the browser and the clicking on the the LOCK Icon and then certificate.
![]()
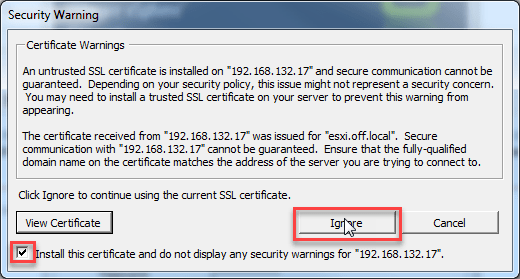
You can also check that if the vSpehre client is prompting you for the new cert. Once you enter your credentials it will give you a similar prompt as below. Select the install option and click on ignore to poceed.
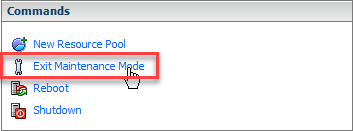
Lastly now exit the maintenance mode of the ESXi host.
That’s it it all done. If any issues please let us know via the comments /Contact Us.


