


I wanted to share my experience building a ESXi HOME LAB with VPN access that can be used for development and testing purposes and also making sure its the most energy efficient setup and light on your pocket coupled with good performance and negligible noise.
This article is aimed at Home users and Small & Medium business users who don’t have huge needs to running resource hungry applications/databases instead just running some WEB applications, NAS, Windows AD or RedHat Infra and media sharing across the network for multiple users.
In what way Energy Efficient and cheaper??
–> Energy Saving — By using HP MicroServers which are very energy efficient as given on ZDnet and using WOL (Wake-on-LAN i.e. powering on the Server only when required) and using RasberryPi for WOL.
–> By avoiding a Static Public IP purchase (costing around 500-1000 pound and if bought pro-rata then we are looking at £20-25 each month)for remote connectivity and instead using a RasberryPi (again energy saver) to run a automated script to notify of the current Public IP for remote connectivity.
–> Negligible Noise — I can hardly hear any Noise when the 2 HP MicroServers are switched on, the FAN in the Server hardly produces any of those humming sounds.
Did it burn Holes in my Pocket getting all the kit???
Simple Answer is NO, it was very cheap when comparing to a full blown Setup of HP Traditional Rack Servers, which alone costs around £1000 pound if bought new or through eBay then its around £150-200. But the biggest hitter is electricity consumption of those Traditional Power hungry Rack Servers.
Following is the Hardware and Software I used and tested in this LAB and the same would be recommended. Its up-to you to go for any other configs based on you preference.
Hardware Prerequisites
1) CiscoVPN (VLAN Supported)
2) RaspberryPi
3) 1(or)2 HP MicroServers N54L (as I used vCenter having 2 would be better)
4) 8GB USB Drive (to install ESXi)
5) 500GB – 1TB 3.5inch Hard Drive
6) Memory upgrade to 12GB for each Server
7) 1GB Ethernet Switch (VLAN Supported)
Some LAN eth5/6 Cables
- lxLAN CABLE for connection between ISP/Home Broadband router to VPN Router (VLAN Supported)
- 1xLAN CABLE for connection between VPN router to 1GB Switch
- 2xLAN CABLE for connection from 2 HP MIcroserver to 1GB Switch
- 1xLAN CABLE for connection from RaspberryPi to Switch
8) Also need Home Broadband Router which is included when you get a broadband connection. Can be DSL/ADSL depending on the provider.
Software Prerequisites
1) ESXi 5.0 or higher
2) vCenter Server Appliance 5.0 or higher
3) Red Hat / CentOS version 6 or higher
How much did it cost??
Hardware:
CiscoVPN Wired+Wireless Router (RV110W) = £65.00
RasberryPi = £35.00
1 HP MicroServer N54L = £130.00 (CashBack of £30) Final Price =£100.00×2 = £200.00
8GB USB Drive = £5.00
1TB 3.5inch Hard Drive = £45.00 (You can use any Hard Drives from your existing desktop and save money)
2x8GB(16GB) DDR3-RAM Sticks = £50×2 = £100 (I used higher MHz speed RAM hence higher price)
5XLAN eth6 Cables wont be that expensive around = £20.00
Total Cost = £450.00 +£20 (LAN Cables) = £470.00
Software:
- FREE as I used Evaluation Version of vCenter and ESXi which is has got Full Functionality for the initial 60 days.
- For VM’s used CentOS which is freely available from CentOS
Before we start off with the setup let me give an overview of the Network via a Visio.

PART 1
First would need to configure your Home Broadband router to route traffic to your VPN Router when requested. This is required if you are connecting to your LAB from outside.
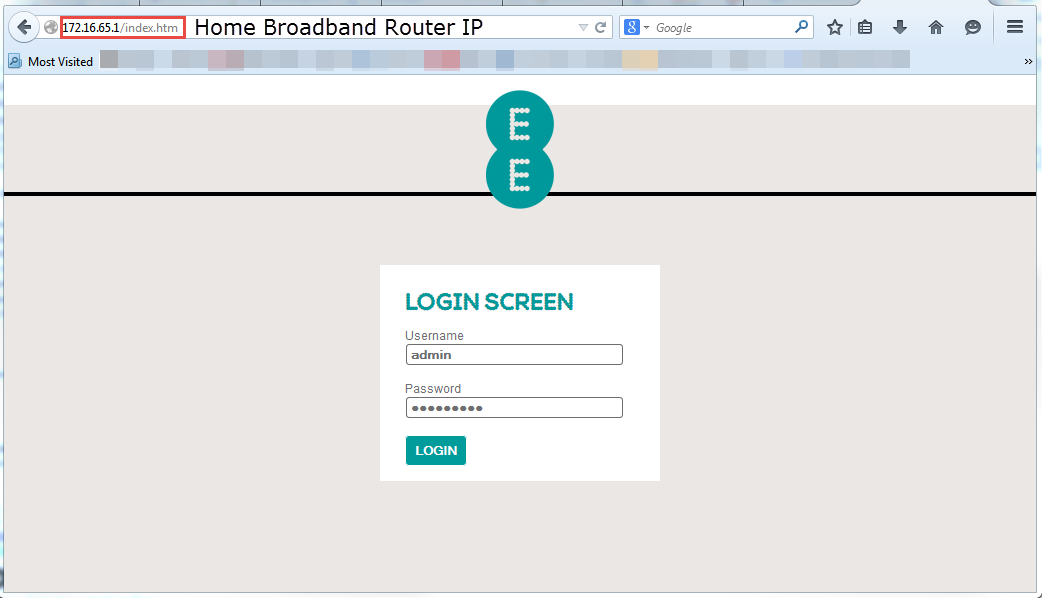
Login into your broadband router WEBUI page (using EE Broadband router in this article). For most routers the default IP is http://192.168.0.1 or http://192.168.1.1 (Check you router Manual). Enter the username and password (usually password is given at the back of the router). In this case its 172.16.65.1
Browse to Advanced Settings –>Then to NAT–>Then to Port Forwarding. Choose an IP address which would be your WAN IP Address for VPN Router. In this case its 172.16.65.3. Select the protocol as TCP and Port number to 1723 (PPTP Port Number)

PART 2
Then Goto CiscoVPN Router and configure WAN and LAN IP Address
WAN IP = To be used for incoming VPN (PPTP) Request (Wide Area Network)
LAN IP = To be used for internal clients/machines (Local Area Network)

Goto Networking –> WAN

Goto LAN Configuration –> LAN

Next part would be to setup the IP Address Range for Remote VPN Users and User Authentications. There is a MAX limit of 5 concurrent users on this VPN Hardware. If you want more then go for a higher grade VPN Hardware.
Goto VPN –> VPN Clients. Setup users and password and PPTP as preferred Protocol.

Also make Sure PPTP is allowed as Passthrough

PART 3
Now you are done with the config on both the Routers. The next part would be to install Raspbian Debian Wheezy on RasberryPi, follow these steps to install found on Raspi.org website and then Setup RasberryPi to send you automated email notification whenever the PUBLIC IP changes on you HomeBroadband Router.
PART 4
Next Part would be to test the VPN connection for remote connectivity. We would be using Windows 7 as the client VPN but if anyone wants to try Linux, they can do and share their experience please.
First Goto RUN and search for Network

You will see “Network & Sharing Centre” Click on it.

Then Click “Setup a new connection or Network” on the right hand side pane.

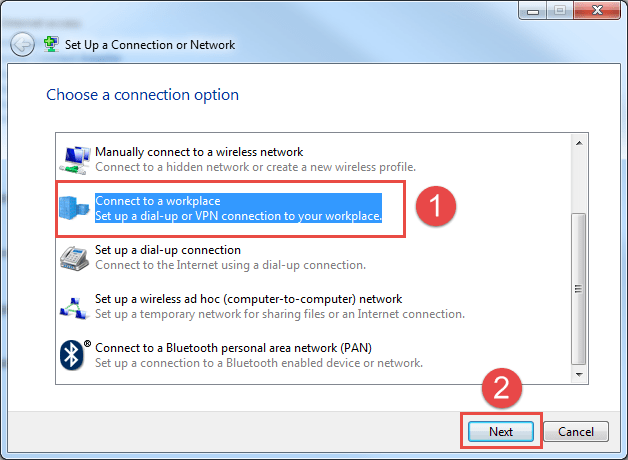
In the next prompt go for “Connect to a Workplace” –> Next
Then Choose “No, Create a New Connection” –> Next

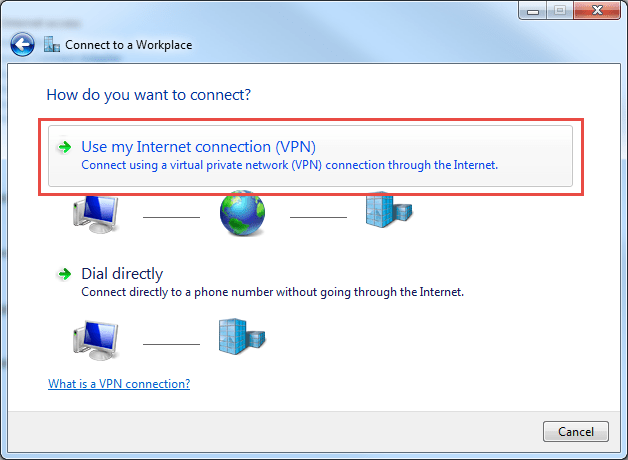
Then Click on “Use my Internet Connection(VPN)” –> Next
In this prompt type in the Public IP which you extract from your Home Broadband Router HomepAge or just Google for “what is my IP“.
Destination Name can be anything you like. I used HOME_VPN –> Next

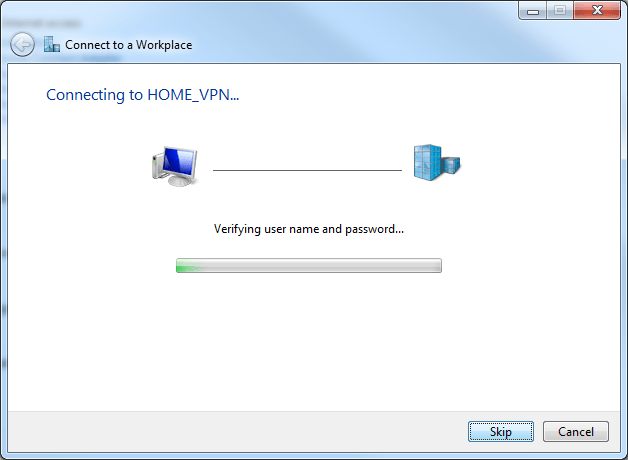
Now Type in the Username and Password you created in the CiscoVPN VPN Clients Section (See Screen shots). You can check the “remember password” option if you want less hassle of typing in password every time –> Connect.

Now you should be able to login into your VPN connection. Once ready now proceed with building your ESXi machines and creating VM’s on it.
The Next Part would be updated soon…….. Follow this page to be updated